Once a profile has been created, its content is added and arranged on the timeline itself. Modules, questionnaires and additional content are added from a search dialog, and their timing can then be adjusted by dragging directly on the graph rather than by typing day numbers.
CONTENTS
- The four sections
- Adding an element
- Editing directly on the timeline
- Reordering and moving elements
- Element tags
- Messages
- Removing an element
The four sections
Content is grouped into four sections, each with its own header bar:
- Modules – whole modules from the programme.
- Questionnaires – questionnaires and other scheduled forms.
- Additional content – content pages, worksheets and other elements of type Other.
- Messages – scheduled messages.
Which section an element appears in follows from its element group, which can be changed afterwards in the element settings.
Adding an element
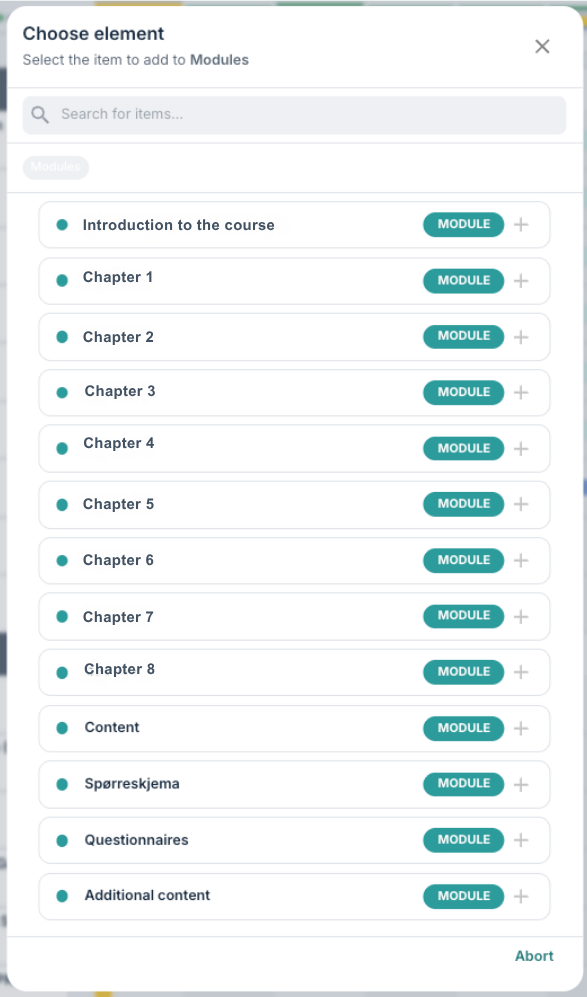
The plus symbol in a section header opens the Choose element dialog. The heading under the title states which type is being added, for example Select the item to add to Modules.
The dialog containes:
- A search field, Search for items..., which filters the list as you type.
- Filter chips for Modules, Questionnaires and Additional content. The chip matching the section you opened is selected automatically. When adding to the Modules section, only the Modules chip is shown.
- A list of matching items, each with a coloured indicator and a type badge.
Choosing a module or a single page
With the Modules chip selected, clicking a module adds the whole module to the profile.
With the Questionnaires or Additional content chip selected, the list shows the individual pages that belong to that part of the programme, and clicking one adds that single page.
Clicking a module while adding to a section other than Modules opens the module and lists the pages inside it, so a single page can be picked out. A button, Add entire module, is available at the top of that list, and Back at the bottom returns to the module list.
Content groups
Where the programme has content groups configured, these can also be added as a single element. Content groups are described in Program Settings: Content Groups.
What happens when an element is added
A newly added element is placed at the same start day as the last element of the same type already in the profile, so items added one after another line up rather than all landing on day 0. It is added at the end of the sort order for its section, and Complete in order is switched on for it by default.
The timeline scrolls to the new element and its settings panel opens, so the timing can be adjusted straight away.
Editing directly on the timeline
The graph area itself is also editable. Changes made here are the same values that appear in the element settings panel, and are saved together with everything else when the profile is saved.
Moving and resizing a bar
Modules and additional content are drawn as bars on the graph, as once opened they tend to be available for a longer time period. Hovering over a bar reveals a small handle at each end.
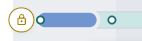
Dragging the left handle changes the day the element becomes available, and dragging the right handle changes the day it stops being available. While dragging, a tooltip follows the pointer showing the day being set, for example Start: Day 14 or End: Day 35.
Adding and removing questionnaire occurrences
Questionnaires are drawn as dots rather than bars, one point per occurrence. Moving the pointer along a questionnaire row shows a faint preview point at the day under the pointer.
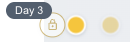
Clicking an empty day adds an occurrence on that day, and clicking an existing point removes that occurrence. The last remaining occurrence cannot be removed this way. Dragging a point moves that occurrence to another day.
When a questionnaire has more than one occurrence, the points are joined by a dashed line so the repeating pattern is easy to follow.
Reordering and moving elements
Elements can be dragged up and down by clicking and holding their name (in the far left-hand column).
- Dragging an element up or down within its own section changes its sort order.
- Dragging an element onto another section moves it there. The element takes over the start days and element group of the element it is dropped onto.
The sort order matters for conditional opening, because an element's dependencies are the elements listed above it in the same section. This is described in further detail here: Program Timeline: Element settings and conditional opening.
Element tags
Under the element name, a coloured tag shows which element group the element belongs to, for example Questionnaire, App, Consent, Pre-content, Therapist or Guardian consent. Elements in the Modules section do not carry a tag. The colour matches the colour used for the element on the graph.
Messages
The Messages section shows the scheduled messages that apply to the profile. Each message is drawn as an envelope symbol on the day it is sent, and hovering over it shows the day, whether the message is configured on the profile or on the programme, and the message text.
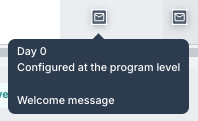
This row is for reference. Scheduled messages are not added, moved or removed from the timeline, but rather via the Settings menu or configured as described in Program Settings: Scheduled Messages. Where neither the profile nor the programme has any, the row shows No registrations created.
Removing an element
Clicking an element name opens its settings panel, and a Remove element button is available at the bottom of the panel. As with all other timeline edits, the removal takes effect when the changes are saved, and choosing cancel before saving restores the element.
Was this article helpful?
That’s Great!
Thank you for your feedback
Sorry! We couldn't be helpful
Thank you for your feedback
Feedback sent
We appreciate your effort and will try to fix the article